
Beginners Guide to Building a PC
Everything You Need to Know to Build Your First Gaming PC Successfully
Building a PC for the first time feels more intimidating than it is. The components are designed to fit together in specific foolproof ways. Wrong parts physically cannot connect. Correct parts click into place. If something requires significant force you are doing something wrong and nothing is damaged yet.
I troubleshoot electrical systems on mega yachts where the consequences of a mistake are measured in thousands of dollars. A PC build is one of the more forgiving technical projects you will encounter. Take your time. Work in order. Check your work at each step.
What You Need Before You Start
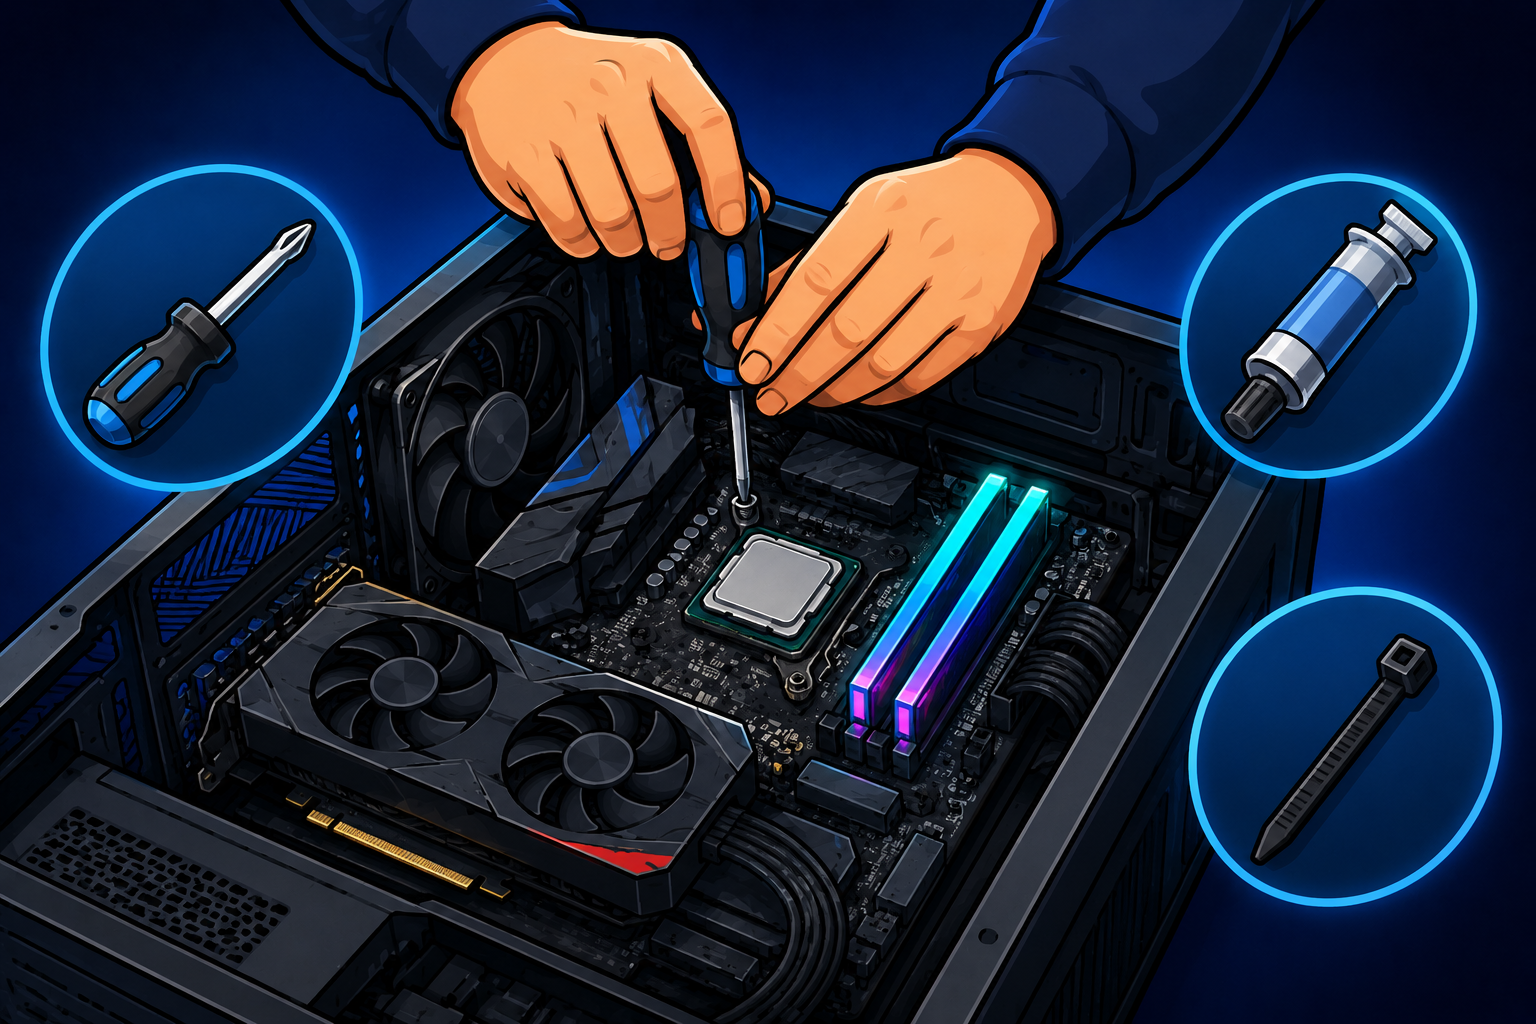
A Phillips head screwdriver with a magnetic tip. Zip ties for cable management. A clean flat well-lit surface — avoid carpet for static reasons. Thermal paste if not pre-applied to your cooler. Two to three hours of uninterrupted time.
Read your motherboard manual before touching anything. The motherboard is the central document of any build.
The Build Order
Step 1 — Install the CPU
Work on the motherboard flat before putting it in the case. For AMD AM5 lift the retention lever, align the triangle corner of the CPU with the triangle on the socket, lower the CPU in without force, lower the lever. For Intel open the load plate, place the CPU aligned by the edge notches, lower the plate and secure. The CPU seats without downward force — resistance before fully seated means check orientation.
Step 2 — Install RAM
Check your motherboard manual for correct slot positions with two sticks — almost never slots one and two. Press firmly and evenly until both retention clips click. The required force is more than feels comfortable.
Step 3 — Install M.2 NVMe SSD
Locate the CPU-connected M.2 slot in your manual. Remove the retaining screw, insert the drive at 30 degrees until fully seated, press flat, replace the screw.
Step 4 — Install CPU Cooler
Apply a pea-sized dot of thermal paste to the center of the CPU if not pre-applied. Mount the cooler and tighten in a crossing diagonal pattern for even pressure.
Step 5 — Mount Motherboard in Case
Verify standoffs align with motherboard holes. Install IO shield if separate. Start all screws before tightening any.
Step 6 — Install Power Supply
Slide PSU in with fan facing down. Route all cables before installing the GPU.
Step 7 — Install GPU
Remove rear expansion slot covers. Push GPU into top PCIe x16 slot until the retention clip clicks. Connect PCIe power cables and verify they are fully seated — this is critical.
Step 8 — Connect Case Cables
Front panel power button, USB 3.0 header, audio header, and case fan headers. Consult your motherboard manual for exact positions.
Step 9 — First Boot
Connect monitor to the GPU not the motherboard. Connect keyboard and power. Press the power button. If you see the BIOS screen the build is successful.
Step 10 — BIOS Configuration
Enable XMP or EXPO for RAM. Verify CPU temperature at idle under 45 degrees Celsius. Set boot device to your OS drive.
Most Common First Build Mistakes
RAM in the wrong slots. Monitor connected to motherboard instead of GPU. PCIe power not fully seated on GPU. XMP not enabled. PSU rear power switch not flipped to on. None of these damage any component — they are configuration issues the manual prevents.
The first build takes two to three hours. The second takes forty-five minutes.